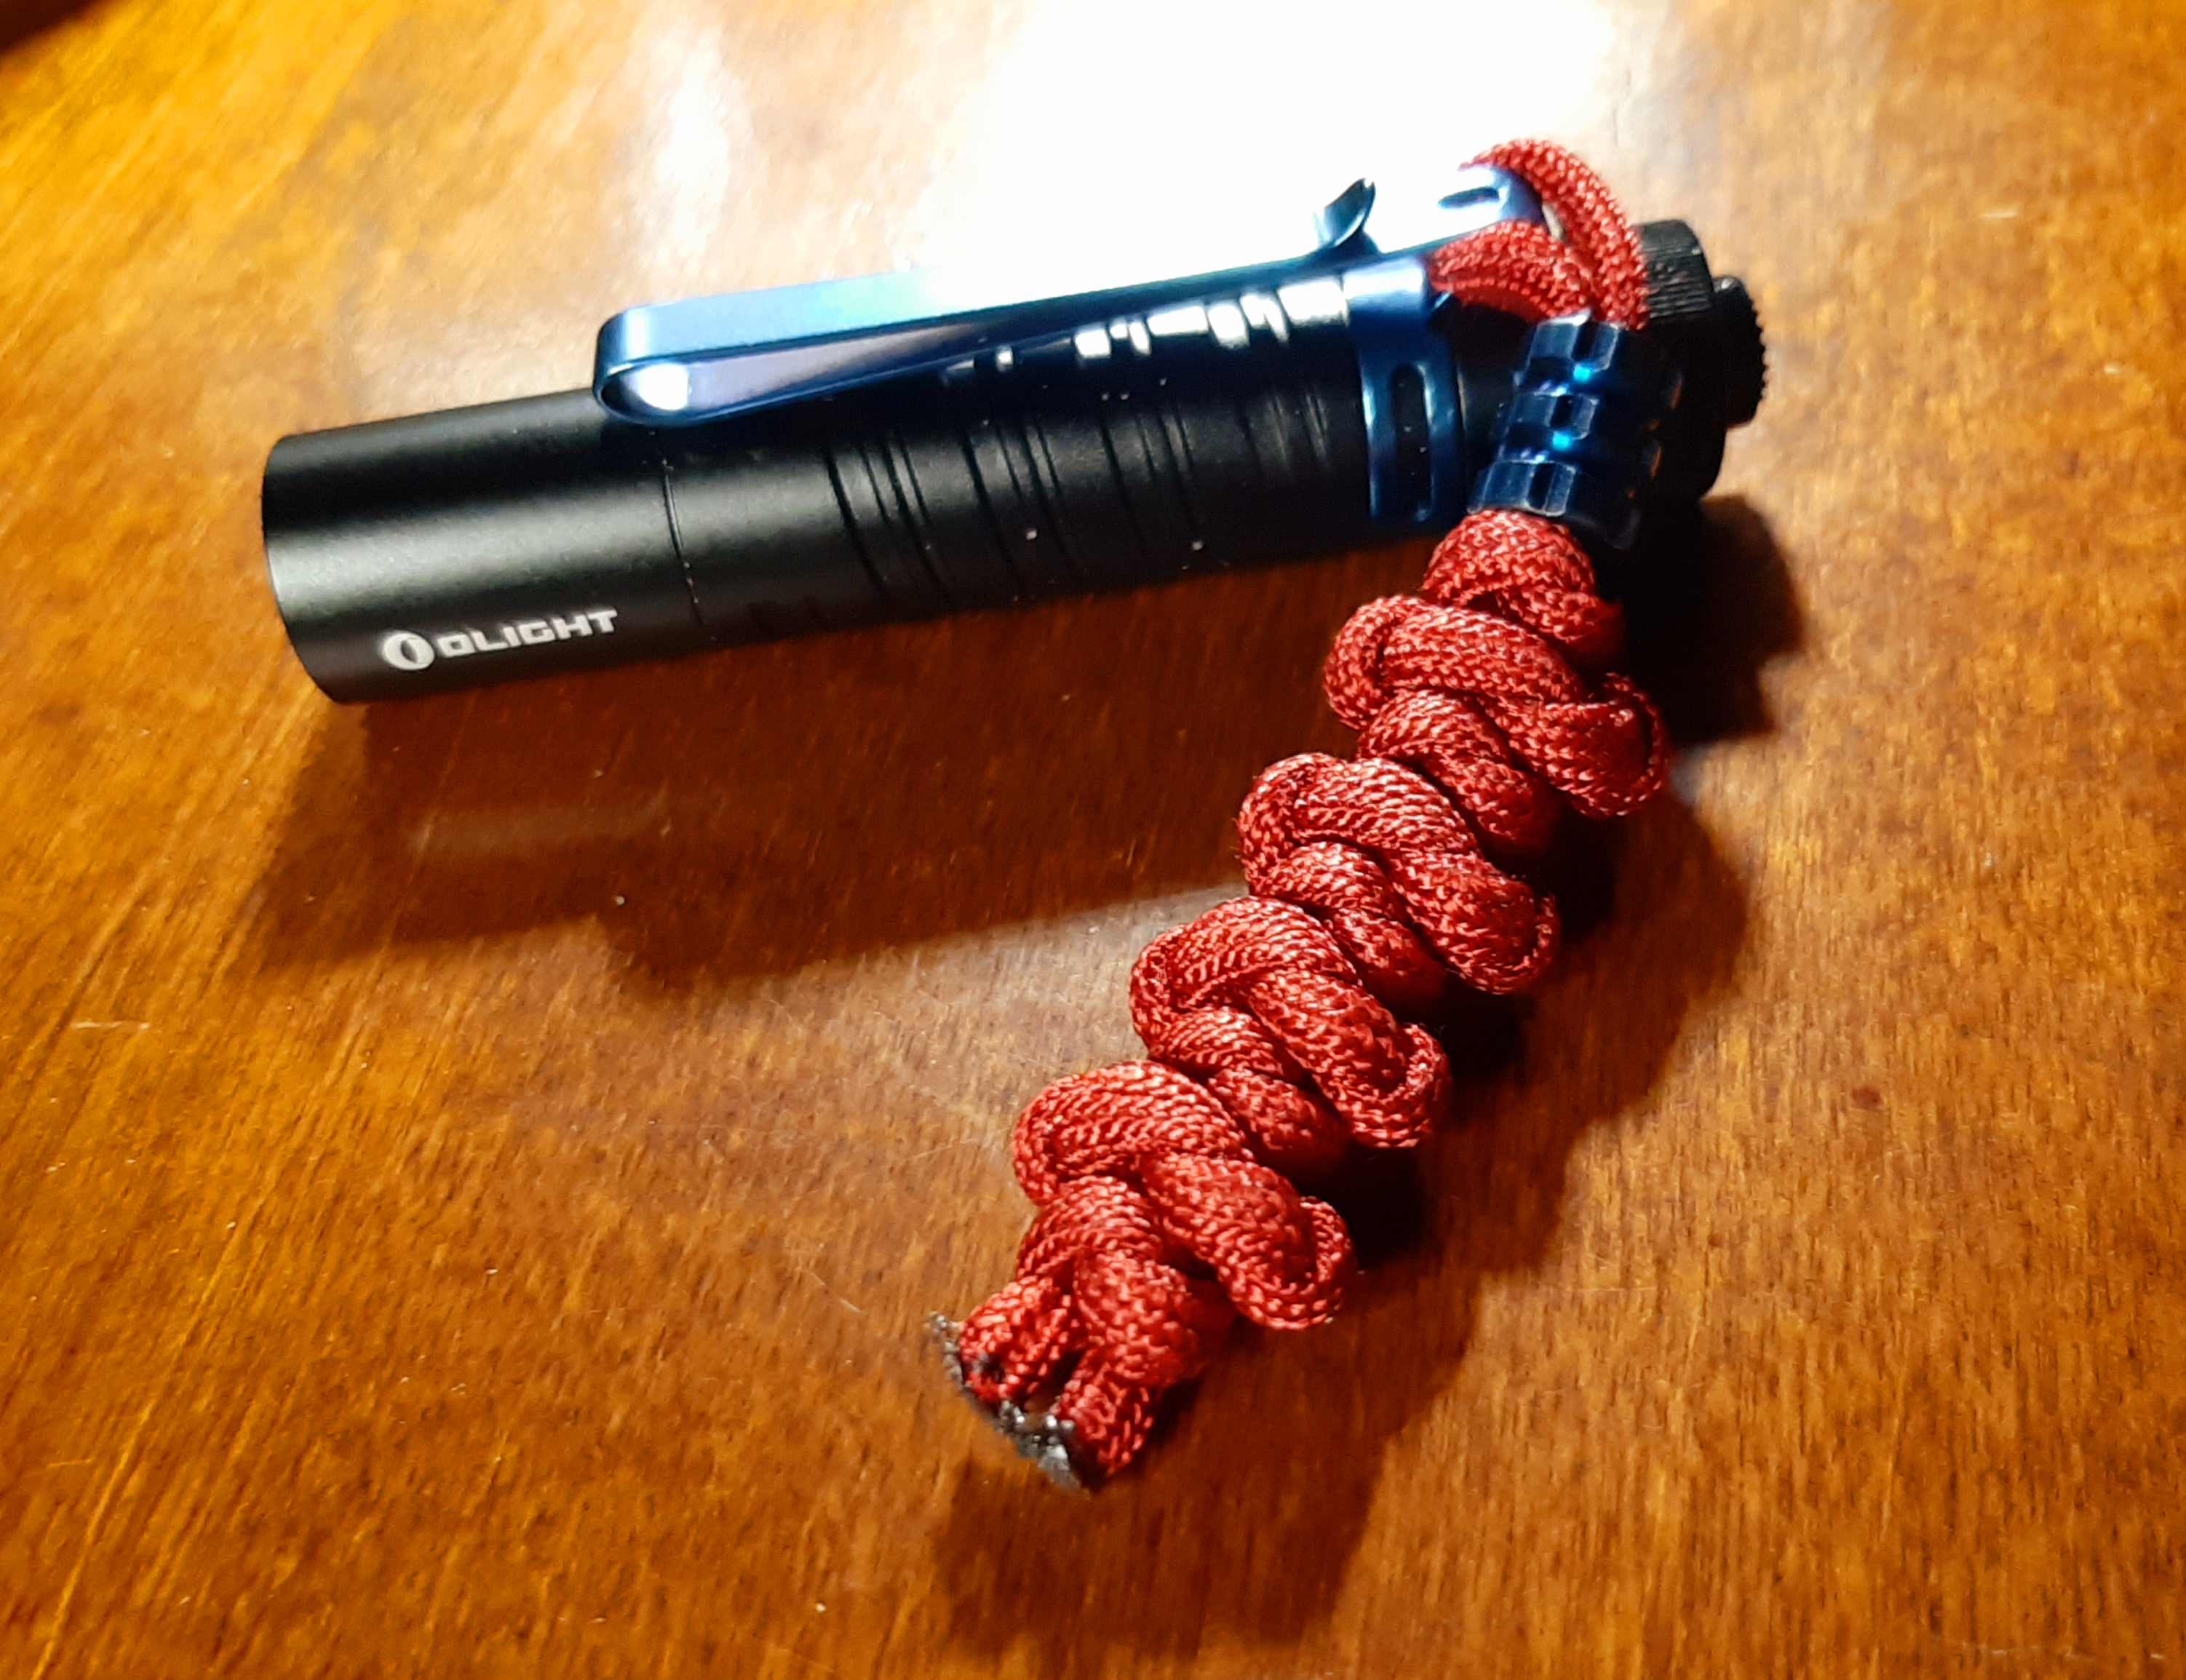
Saturday, May 18, 2013

A Solomon Ladder paracord watchband/bracelet...

I used a couple of feet of paracord to make a loop and lanyard/diamond knot for the base of the watchband/bracelet, sized to fit around my wrist.  Then cut nineteen separate one foot long sections of black 1.4mm diameter cord to make a series of individual Solomon bar/Portuguese sinnet 'rungs', calling them that as they looked to me like the rungs of a ladder stacked/tied along the length of the parallel paracord strands.  If tied just as a bracelet without the watch, several more sections would be needed to fill that space.  Different colors could be used as well, so you've got lots of potential options should you give tying one a try.


I middled each length of the 1.4mm cord, ring/cow hitched it onto one paracord strand, ran the cords around the other paracord strand, then tied the knots.

I kept the paracord spaced just under an inch wide as I added the knotted 'rungs'.  It did take a bit of time and patience to keep them all sized the same, with tying them in hand.  I think maybe using a couple of dowels clamped at the spacing I wanted, would speed up that process, and then having the number needed to fill up the space for a bracelet or watchband, I could just easily slide them off the dowels and run the paracord through the loops...

I used a small Permal-Lok lacing needle to tuck the end strands of the Solomon bars back under the knots, then trimmed and tucked each to finish.

The watchband/bracelet could be done with a side release buckle, but I just wanted a simple knot and loop closure to try this one out.  The last Solomon bar rung can be worked snug against the lanyard/diamond knot to secure it against coming loose.  This could be somewhat adjustable with moving one or two of the Solomon bars back/forth, then sliding the lanyard/diamond knot through for the best fit, readjusting the bars to lock the knot in place.

Variations are certainly possible, like having the Solomon bar sections connected, like a wide Solomon pattern, a vertical section connecting each pair of horizontals, or alternating the bar with shared strands, etc...

I took a few quick process photos for a collage with tying one Solomon bar pieced on the paracord wrist section already tied.


Tuesday, May 14, 2013

Knurled Copper and Tether Cord...

This month I've tied some knot work with a few items I received from County Comm, one of which is a tether cord version of the leather neck lanyard I tied for a blog post last month.

Some of the items I received included some cool Copper Cord Clutch knurled lanyard beads, Flat Gate Clips, 3/32" Tether Nylon Cord, Machinist Screwdriver, and a couple neat Mil-Spec Stainless Steel Containers for storage.

For the neck lanyard, shown with a pocket watch, I used a four strand round braid, with safety break-away clasp, and a few Gaucho knots, one covering the clasp, a couple of small Turk's head knots on either side, and a couple of different sliding Gaucho knots above the ring hitched snap hook.

I also tied a couple of 18" long lanyards with the tether cord, knurled copper beads, and flat gate clips, using the four strand round braids, one with a spiral pattern, the other with the diamond pattern.  I made a loop at the starting end, a lanyard knot, added a bead, then tied another lanyard knot before doing the round braid for the body length, and then another lanyard knot, bead, attaching the gate clip, and tying another lanyard knot to secure it.  Gaucho knots were then tied and tightened over the braid at each end.  The copper beads should develop a nice patina, with handling over time.

I tied a simple Turk's head knot around the top of the pocket screwdriver.  Anyone that does a bit of tinkering, needs a standard/phillips screwdriver, and these are pretty nice, with the knurled cap/body, stainless steel pocket clip, long doubled ended bit, and magnetic tip on the top end of the cap.  The knot, tied with 0.9mm cord, is tightened over the knurling, so it's secure where it is.

The stainless steel containers with snap on lid come in handy for storing all kinds of items.  I was able to fit a 50 foot hank of paracord into one, with few other items.

I used a stainless steel marlin spike to work the tether cord Gaucho knots, receiving the custom made spike from Chuck Alford during a knot exchange, done by some members of a Facebook knot group earlier this year.

Saturday, April 20, 2013

Stitching Shark Jaw Bone and Solomon Bars...

I tied both of these paracord bracelets with metal side-release buckles that I received from IGKT member, Martin Combs.  Martin's website can be found at knotstuff.com.

I think the small metal buckles give the paracord bracelets a classy look, compared with the more common plastic versions.

I used electric blue for the Shark Jaw Bone, and combined that color with bright red paracord for the classic Solomon Bar, both patterns found in JD Lenzen's(TIAT) book, 'Paracord Fusion Ties - Volume 1', shown tied with knot and loop closures.

After tying the bracelets, I then went back and added the stitching on each with 0.9mm nylon cord.  I used my small Perma-Lok lacing needle to work the stitching into the patterns.  I tucked and trimmed all the end strands along the undersides of the finished bracelets.  I bought the orange cord from R&W Rope, and the white off ebay.

With the Solomon Bar/Portuguese sinnet/cobra stitch bracelet, I worked the stitching all the way down one side then back up the other, so the white is visible on both sides.  I started by running the white a couple of inches up the middle of the bracelet towards one buckle end, to secure it, and did that again after the stitching, from buckle end, down the center a couple of inches, trimming and tucking to finish.

Tying a bracelet with a knot/loop closure, bow/D shackle, or flat side-release buckle, can make it a reversible pattern.  The metal buckle is flat on one side and curved on the other, but since it's small, there wasn't much of a noticeable difference in wearing it either way, so it's useable like that too.

With the Shark Jaw Bone pattern, I also ran the starting end a couple of inches towards a buckle. Following the toothy pattern develops a design which looks similar to previously tied center stitched bracelets.

A stairstepped pattern might also work on the SJB, done by working straight from one end to the other.  On this one, the orange stitching is only visible on one side, so that only the blue paracord shows on the reverse.  If you spend enough time playing around with stitching, you can add in patterns found in some knot books, or maybe come up with something new...

'Paracord Fusion Ties - Volume 2' is due out this summer.

Sunday, April 07, 2013

Some recent leather projects...

I received a package with a few items from Swissbianco in February, including the Victorinox Vagabond and Lumberjack (limited production models), both in copper alox, along with some new scales, a Victorinox shield pin, and a Rex peeler.

It's been a while since my last post, with my hands bothering me a bit the last couple of months, but I still managed to do some tying with some leather projects I'd started on back in February.

I began with a leather finger loop fob, and tied/untied several different knots to cover the paracord lanyard knot loop and core, before settling on a couple of knotted layers with a Gaucho on the outside.  A pineapple knot might work better with the pattern and shape, but I still like how this one ended up.

I made a neck ID/badge/utility lanyard with a 4 strand round braid done with the goatskin leather lace worked around a 1.4mm nylon core strand.  I added a safety break-away using Celtic button knots at the ends of the nylon strand to secure them, covering the clasp with a 7 lead 6 bight Turk's head knot, first tied around a Sharpie marker, then slid off and given a brushed on coat of super glue all around the inside of the knot, and left to dry.  Later the knot is slipped over the safety break-away for a snug friction fit, so it'll stay in place but not interfere with the break-away coming apart if needed.

There are a couple of different sliding Gaucho knots for adjustment, a three pass knot from a 5L4B Turk's head and the other from a little bit longer 4 bight knot, both first tied around a Sharpie highlighter, that is just a little bit thinner than a marker, for a better fit over the two braided lanyard strands.  They were also given a coat of super glue around the insides and left to dry, to firm them up before adding them onto the lanyard.

I used a lark's head/cow/ring hitch to attach the lanyard to the snap hook, which can be switched out with another attachment/carabiner/clip if I want.

Roger had suggested adding some knot work to the Rex Peeler, so I gave it a try with a simple leather wrap and Gaucho knots on the ends.


The glow-in-the-dark Stayglo 111mm scales have the attached Swissbianco designed tactical pocket clip, and the black/yellow 91mm replacement scales are for the worn and scratched ones on my dad's old Victorinox Ranger model Swiss Army knife.  And with a little cleaning and lube, it looks and feels like a new knife with the new scales in place.


Friday, February 22, 2013

Some new brass and copper...

I received a couple new Titan skulls last week from County Comm, in brass and copper, along with a new copper Peanut Lighter, and a neat little adjustable sized Twist Vault container.

I gave JD's(TIAT) Double-Ripcord Utility Strap a try with the brass skull for use as a paracord keychain lanyard/fob, using about four feet each of electric blue and bright red paracord, doing a few wall knots on each end to attach the skull and the snap hook.

Also shown is the stainless steel Titan skull, that I added JD's(TIAT) 'Backbone Bar' to, back in 2011.

I added a Gaucho knot to the Twist Vault, with a length of 3/32" dark brown goatskin lace/leather, that I bought from Hobby Lobby(online).

The containers aren't heavy duty/crushproof/waterproof or anything like that, but they are pretty cool for what they are, and you could certainly find all kinds of EDC items to store in them, like matches, pills/meds, batteries, ear plugs/phones, cord, etc..., and toss them in a bag, backpack, pouch, or in your vehicles glove box.

I may try making a small leather pouch for the copper lighter, tying a longer Gaucho knot, but haven't decided yet. I like the way the copper patina develops over time, and may just leave it exposed on a keychain for a while to see how it looks...

JD(of Tying It All Together) was going to add the Double-Ripcord Utility Strap(DRUS) tutorial in his next book, 'Paracord Fusion TiesVolume 2' due out this summer, but decided to leave it out and add something else in its place, so he instead shared the YouTube video earlier this week.

Sunday, February 03, 2013

Mora knife paracord chain sinnet sheath wrap...

I made this paracord sheath wrap around a Mora 546 with the same chain sinnet method that I used in the previous blog post project, with a short video I uploaded showing the basic method used.

I used a little over 40 feet of paracord for the wrap and a few more for the neck lanyard, shown with an added Navigator Compass and a safety break-away clasp as well.

The chain sinnet allows the paracord wrap to be unraveled in seconds if the cord is needed for something else, and the separate strand used for the neck lanyard remains attached to the sheath.

To reduce the width of the wrap to match the contours/shape of the sheath, I skipped over a loop on the back side of the sheath, reducing the number of chains by one as I worked, made a couple of complete revolutions around the sheath, skipping another loop and around again, and repeated that a third time.  If you don't do that, the sheath will stay the same width from top to bottom, and that's ok if you want it like that, maybe leaving room for some extra survival items, tightly wrapped in a ziplock bag, to fit along side the sheath inside the wrap...

The lanyard strand could also be shortened and/or reconfigured to be used as a belt loop or used to tie/anchor the sheath onto a backpack or other gear.

The knife itself doesn't have a lanyard hole, but I've seen examples of other folks modifying theirs and drill one to add their own wrist lanyard.  The tang of the knife doesn't go all the way to the handle end, so there's no worry of having to drill through the stainless or carbon steel.

Mora makes inexpensive knives, but don't let the low cost fool you.  They're made well and you get decent value for a good all-around utility fixed blade knife.  The sheaths are just molded plastic, but functional, and that helps keep the cost of the knives down.

You can make your own leather or kydex sheath, or buy one from a custom maker, some offereing extra add-ons like firesteels.  You could add a paracord wrap to some of those type of sheaths too, but that may or may not work depending on how they add belt loops or a Tek-Lok.

I didn't add a firesteel to this sheath, like I did another Mora wrap, but one of those smaller 1/8" x 2" models could be tucked inside the knot work, or the chain sinnet possibly worked around one or a holder/tube made for one...

Other possibilities for anchoring the sheath are tying onto the sheath's belt slot at the start, or maybe drilling a hole through the sides, at the bottom of the sheath and running the cord through before finishing.  Some grip tape wrapped around the sheath before tying can also help keep the wrap in place.

Tuesday, January 22, 2013

Some bright shiny copper and a chain sinnet paracord pouch...

I got a couple of new Maratac items in from County Comm last weekThis morning I finished up a new chain sinnet paracord pouch for the Maratac TLL Strobe Light, and added a single strand star knot lanyard to the Maratac Copper CR123 LED Flashlight. I used 2mm black nylon cord for the star knot lanyard on the very cool copper flashlight, with a Flat Titanium Gate Clip for attachment to my belt loop or other gear when needed.  This little copper chunk of cool EDC pocket gear has high, medium, and low settings and the high is incredibly bright for such a small light.  The copper body has a nice weight to it and will develop a patina over time from handling.

The Temporary Landing Light makes a great lantern, lighting up a large room on high, or a tent on low, which makes a nice reading light too.  The strobe is an attention grabbing feature, and there's a tripod mount on the bottom with multiple lanyard holes as well.  The light gets incredible run times, working off a D size battery.

 I made the chain sinnet paracord pouch for the light, stored inside the plastic tube it came with.  I started with about two feet of black paracord for the cinch cord/wrist lanyard, with a cord lock, and tied the two-strand diamond(ABoK #782).

The pouch is made similar to the hitching type pouches, either started on a separate cinch cord or with a loop tied to itself and then the tying process is begun.  I'm sure there's probably a specific 'crochet' term or name for the process of the chain sinnet, but I'm not sure what it might be.

There are other examples of crocheted and knitted pouches and can koozies, some made with yarn and others paracord, done with various different patterns/stitches, that can be found through some googling.  Here's an example of one shown on YouTube.

The chain sinnet may make a nice wrap on a cane, walking stick, or hiking staff, or handle/grip wrap on a flashlight/knife/axe/hatchet/tool too, kept in place with maybe a Turk's head or Gaucho knot above and below...
I used my hemostats to aid in the tying, not having a crochet hook.  The pouch is made from one continuous length of cord, being tied by pulling the needed slack to work with directly from a spool or hank of cord, so there's not the difficulty you get with long starting lengths, like you have with making the hitching type pouches.

I tied the pouch around a hand sanitizer bottle as a mandrel, that was the same diameter as the light storage tube.  The bottom is done like the hitching, where the chain sinnet spirals to the center, with reducing numbers of knots, and the end strand run through the last loop.  The entire pouch can be pulled apart in seconds if needed, by undoing that last lock stitch and pulling, should the need arise to repurpose the paracord.

Saturday, December 29, 2012

A Hansen Knot...

I tied this basic Hansen Knot around the center section of my AA Tactical Maratac LED flashlight.  The pictured knot is the fourth time I'd tied it around the light, the first couple of times being done with different types and sizes of cord, before using this 2.4mm braided nylon line.

I stopped tying to take a few photos, after my hands started cramping up a little, as they often do.

As I worked the slack out, the knot seems a bit lumpy in spots and I'm guessing that's because I tied it in the narrow section of the light, not having much room to keep the starting 5 lead 4 bight knot loose and spaced out enough before working in the Hansen pattern, where it started getting tight with the lacing needle before I finished.  

I'll probably take this one off too and try again until I get it right, maybe just using paracord to practice tying the knot a few more times.

Another Hansen knot shown tied in paracord, and a smaller one tied in 1.4mm cord around a Grimloc carabiner in the EDC pocket dump photo.